Installing a radiator in your home can be a simple and effective way to add heat to a room. However, there are a few key considerations to keep in mind in order to ensure that the installation goes smoothly and that the radiator functions properly. In this article, we will provide some tips and guidelines for installing a radiator in your home.
what radiator size do I need?
The size of radiator you need depends on several factors, including the size of the room, the type of heating system you have, and the level of insulation in your home. To determine the proper radiator size for your home, you will need to consider the room size, heating system and insulation.
Radiator size considerations
1. Room size
The size of the room will determine how much heat is needed to warm the space. A larger room will require a larger radiator, while a smaller room will need a smaller radiator.
2. Heating system
Different heating systems have different heat output requirements. For example, a gas heating system will require a larger radiator than an electric heating system.
3. Insulation
The level of insulation in your home will also affect the size of radiator you need. If your home is well-insulated, you may be able to get away with a smaller radiator.
To accurately determine the size of radiator you need, it is recommended to consult with a heating engineer. They will be able to assess your home’s heating needs and recommend the appropriate size radiator for your specific situation. Check out our article on radiator size guide to help you further.
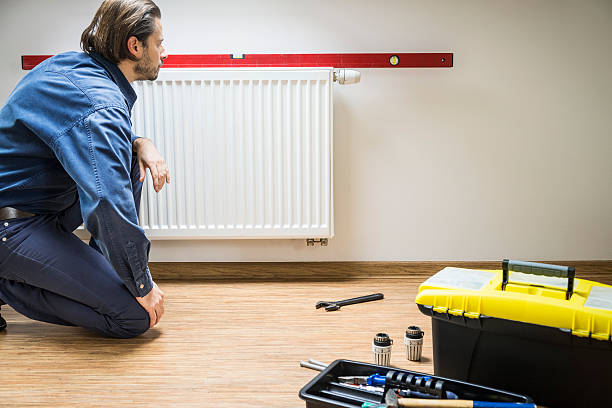
Steps to install a radiator
Shut off the power to the heating system
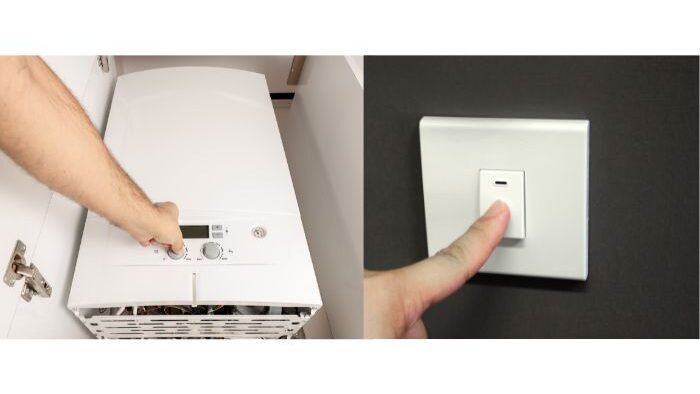
Before you begin any work on your heating system, it is essential that you shut off the power to avoid any accidents or injuries. You will typically find the power switch or breaker near the boiler. Switch this off and take the fuse out.
Drain the radiator
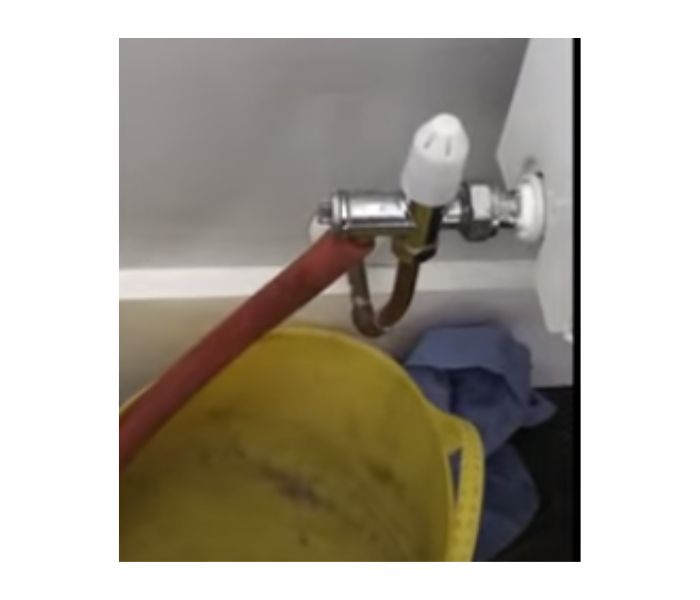
In order to install a new radiator, you will need to drain the old one first. To do this, locate the valve on the bottom of the radiator and attach a hose to it. Then, open the valve and allow the water to drain out into a bucket or drain.
Remove the old radiator
Once the radiator is drained, you can begin removing it from the wall. You may need to use a wrench or pliers to loosen the mounting brackets and then carefully lift the radiator off the wall.
Install the new radiator
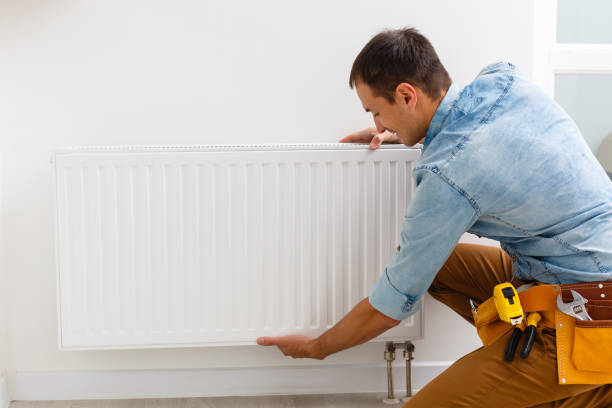
Once the old radiator is removed, you can begin installing the new one. Start by mounting the brackets to the wall using screws. Then, carefully lift the new radiator onto the brackets, making sure it is level.
Connect the radiator to the heating system
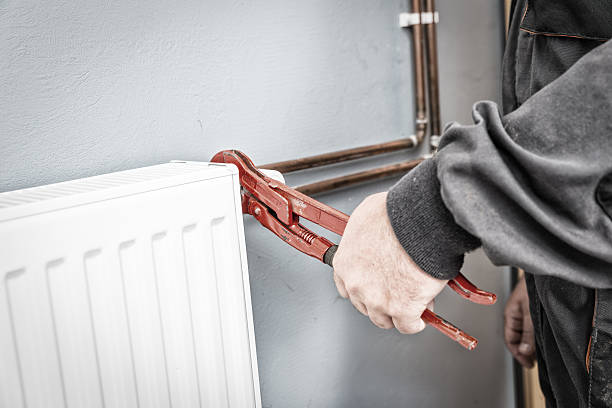
Next, you will need to connect the new radiator to the heating system. You will need to attach the supply and return pipes to the radiator using pipe fittings. Make sure the connections are tightened securely to avoid any leaks.
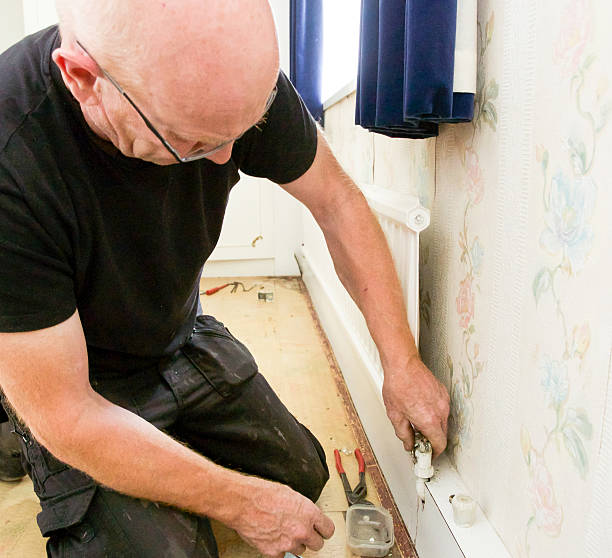
Bleed the radiator
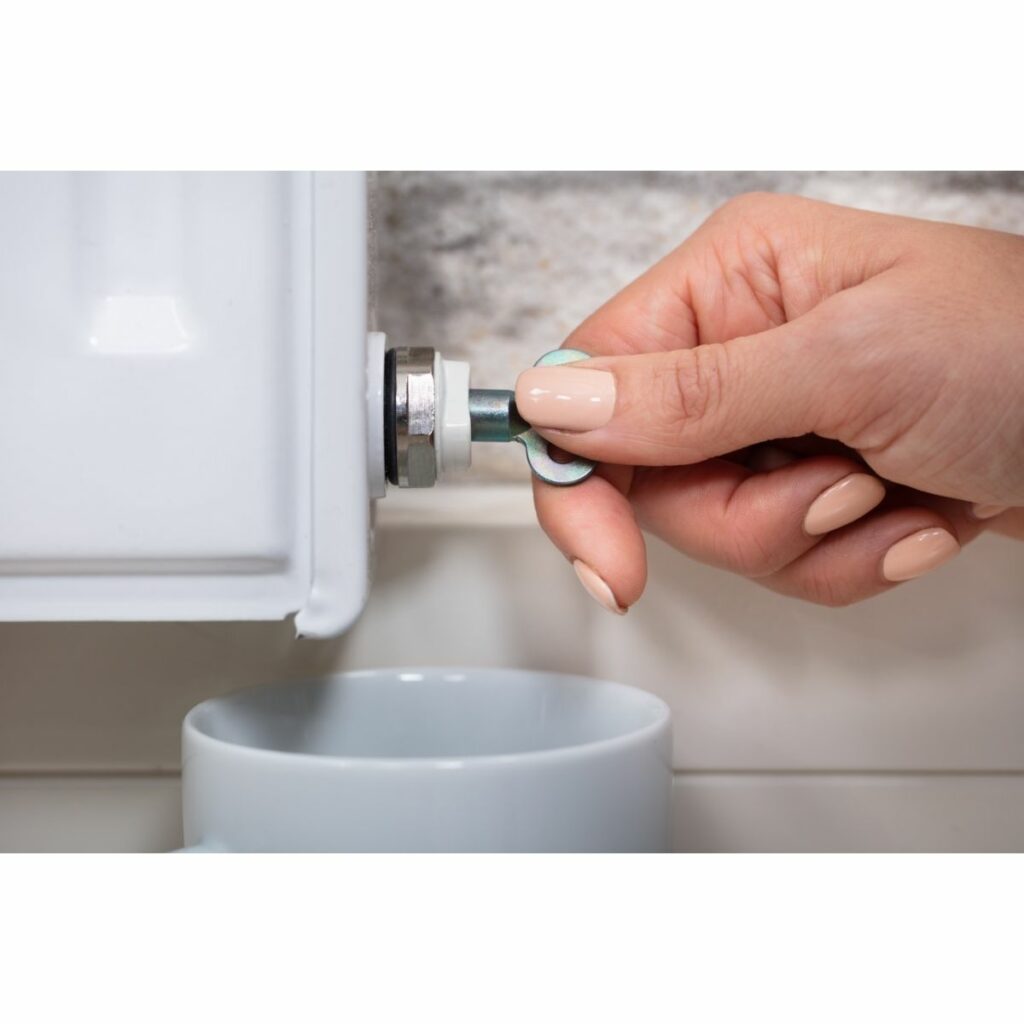
Once the radiator is connected to the heating system, you will need to bleed it to remove any air that may be trapped inside. To do this, you will need a radiator key and a towel.
Place the towel under the valve and use the key to turn the valve anticlockwise. As the air is released, you will hear a hissing sound and see water begin to flow out of the valve.
Refill the system
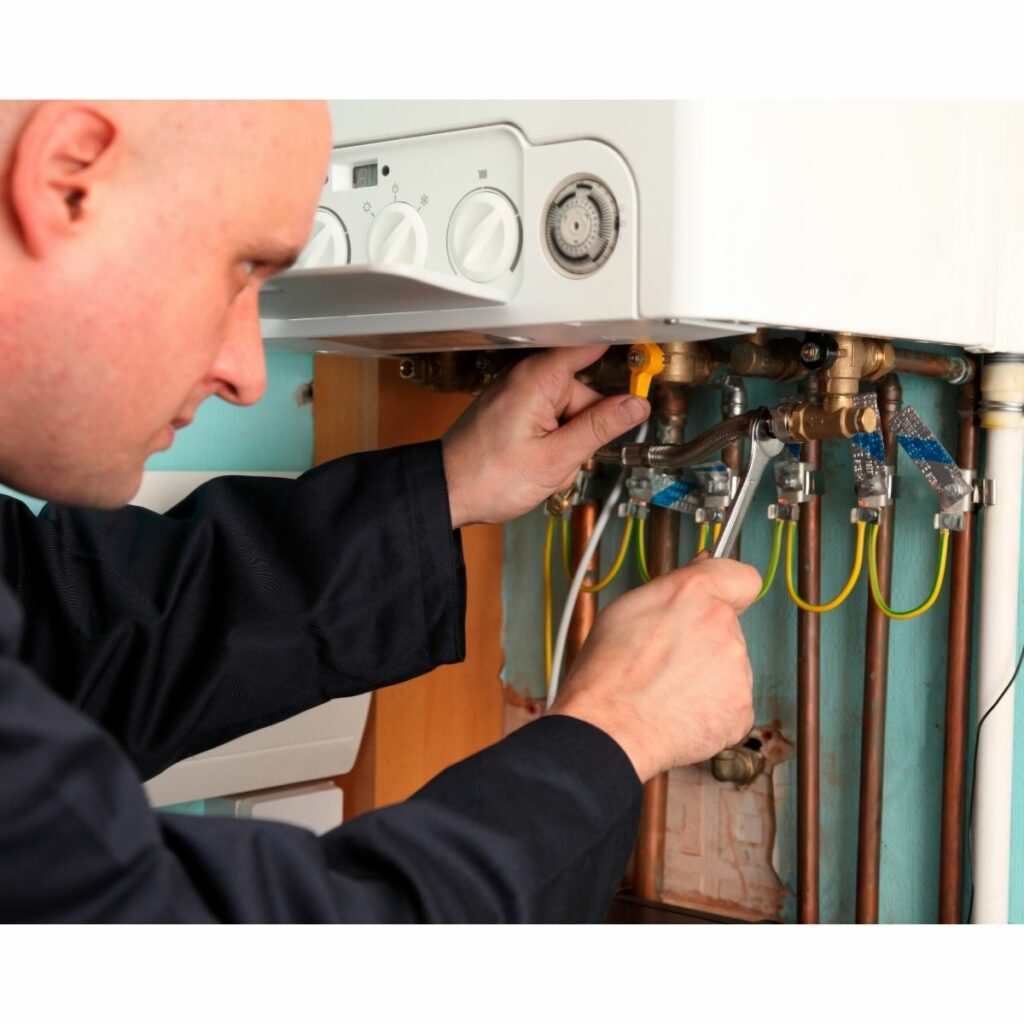
Once the radiator is bled, you will need to refill the heating system. To do this, you will need to open the filling loop (a valve located near the boiler or furnace) and allow water to flow into the system until the pressure gauge reads the correct level.
You may need to add some inhibitor (a chemical that helps protect the system from corrosion) to the water as you refill it.
Test the radiator
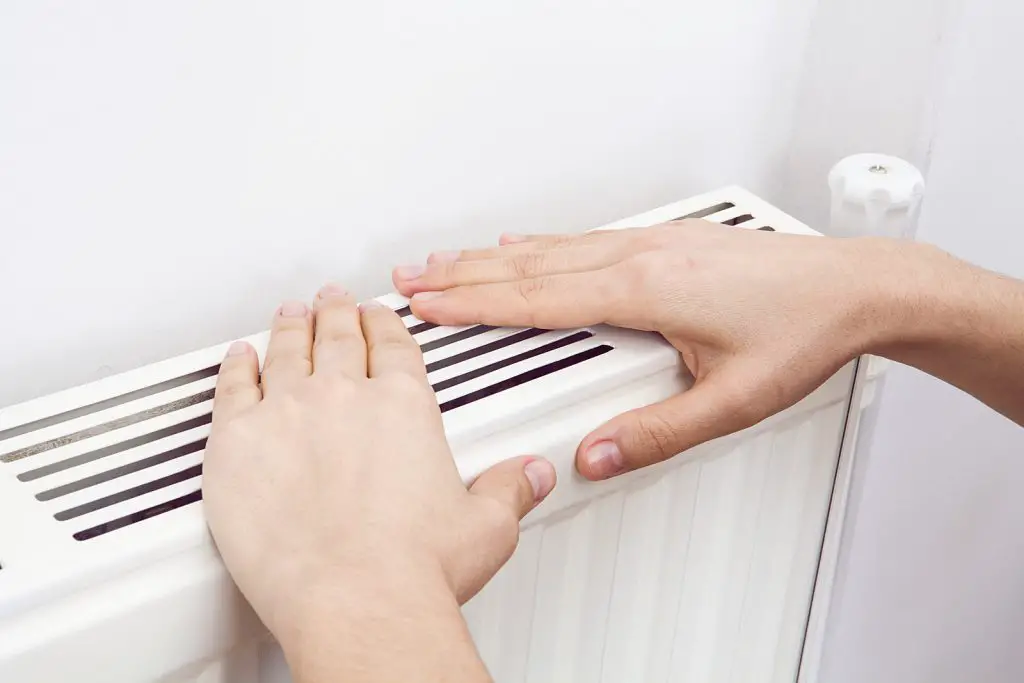
Once the system is refilled and the pressure is correct, it is important to test the new radiator to make sure it is working properly. Turn the power back on to the heating system and turn on the thermostat. The radiator should start to heat up and produce warmth.
Tools and materials required
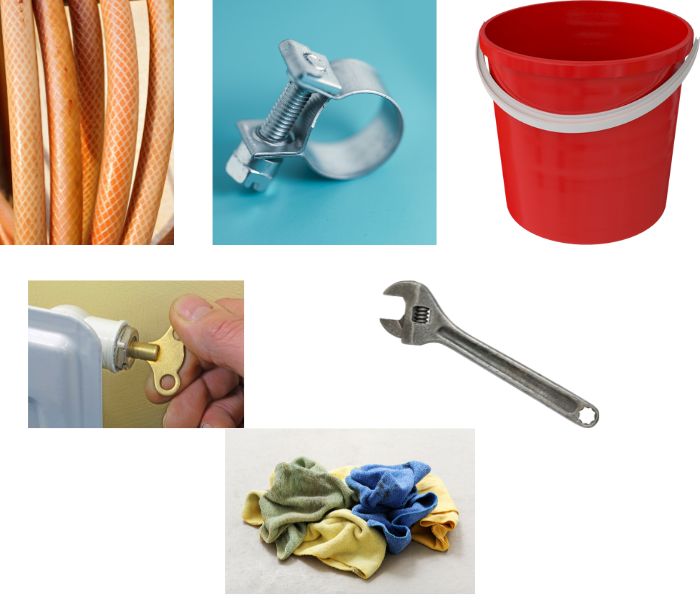
- Wrench or pliers
- Hose
- Bucket or drain
- Screws
- Pipe fittings
- Radiator key
- Towel
- Inhibitor (optional)
Time required: Installing a house radiator can take anywhere from a few hours to a full day, depending on your level of experience and the complexity of the job. It is important to take your time and work carefully to ensure a proper and safe installation.
Costs involved: The cost of installing a house radiator will vary depending on the size and type of radiator you choose, as well as any additional materials or tools you may need. It is a good idea to get quotes from multiple contractors or suppliers to find the best price for your project.
It is always a good idea to consult a professional if you are unsure about any aspect of the installation process. Improper installation of a radiator can lead to safety hazards and costly repairs in the future.
What are the easiest types of radiators to put up?
There are several types of radiators that are relatively easy to install, depending on your level of expertise and the tools and materials you have available. Some options to consider include:
- Panel radiators: Panel radiators are a popular choice for many homeowners because they are easy to install and offer good heat output. These radiators are typically mounted on the wall and consist of a series of flat panels that are connected together. They are relatively lightweight and easy to handle, making them a good option for DIY installation.
- Towel radiators: Towel radiators are another popular choice for many homeowners. These radiators are designed to heat towels as well as the room, and are typically mounted on the wall in a bathroom or laundry room. They are usually lightweight and easy to install, making them a good option for DIY projects.
- Column radiators: Column radiators are a traditional type of radiator that consists of a series of vertical columns connected together. They are typically mounted on the wall and are relatively easy to install, especially if you have experience working with plumbing.
- Convector radiators: Convector radiators are a type of radiator that uses convection to circulate heat around a room. They are typically mounted on the wall and are relatively easy to install, making them a good option for DIY projects.
It is always a good idea to consult a professional if you are unsure about any aspect of the installation process. Improper installation of a radiator can lead to safety hazards and costly repairs in the future.
Read related articles:
- The Most Popular Radiator Styles And Designs For Modern Homes
- The Benefits of Different Types of Radiators: Cast Iron, Aluminium, and Electric
- How to Improve Efficiency From Your Radiator
*The information in this article should be used for general guidance only and not as financial or health advice. Full details are on the link in the footer to our disclaimer page. Always discuss your requirements with a competent and suitably qualified professional before undertaking any work.